Thursday, September 22, 2016

Three Mini Sculptures


Emphasis Using Contrast
My first sculpture is mainly composed of very dynamic triangular shapes, making the piece look very intimidating and interesting. To add contrast, I added a single, serene sphere among the jagged triangles. By having a different shape among a group of the same shape, it emphasizes that single shape. 

Preliminary Sketch

Materials: Balsa Wood, Stonehenge Paper, Masking Tape, and Wood Glue

_________________________________________________________________


Scale
My second sculpture look sort of like a mess, but I promise I put a lot of thought into it. This sculpture communicated a different idea of scale. I constructed two "frames" that intersect each other perpendicularly; they serve as traditional "boundaries" used in 2-D art. For example, a drawing or painting is limited by the boundaries of the paper. The broken wood pieces serve as a "gestural" lines that's seen in gesture drawing and sketching. However, the wood "lines" are not confined to the boundaries of the frames. They jut out the sides, towards the viewer, and away from the viewer. It's a 3-D drawing. I created four different planes so that the wood drawing can be seen at many different angles. So each side is a different "drawing". 


Preliminary Sketch
I initially only had one frame, but that would've flattened the piece. 


Materials: Balsa Wood, Straight Pins, and Wood Glue

_________________________________________________________________


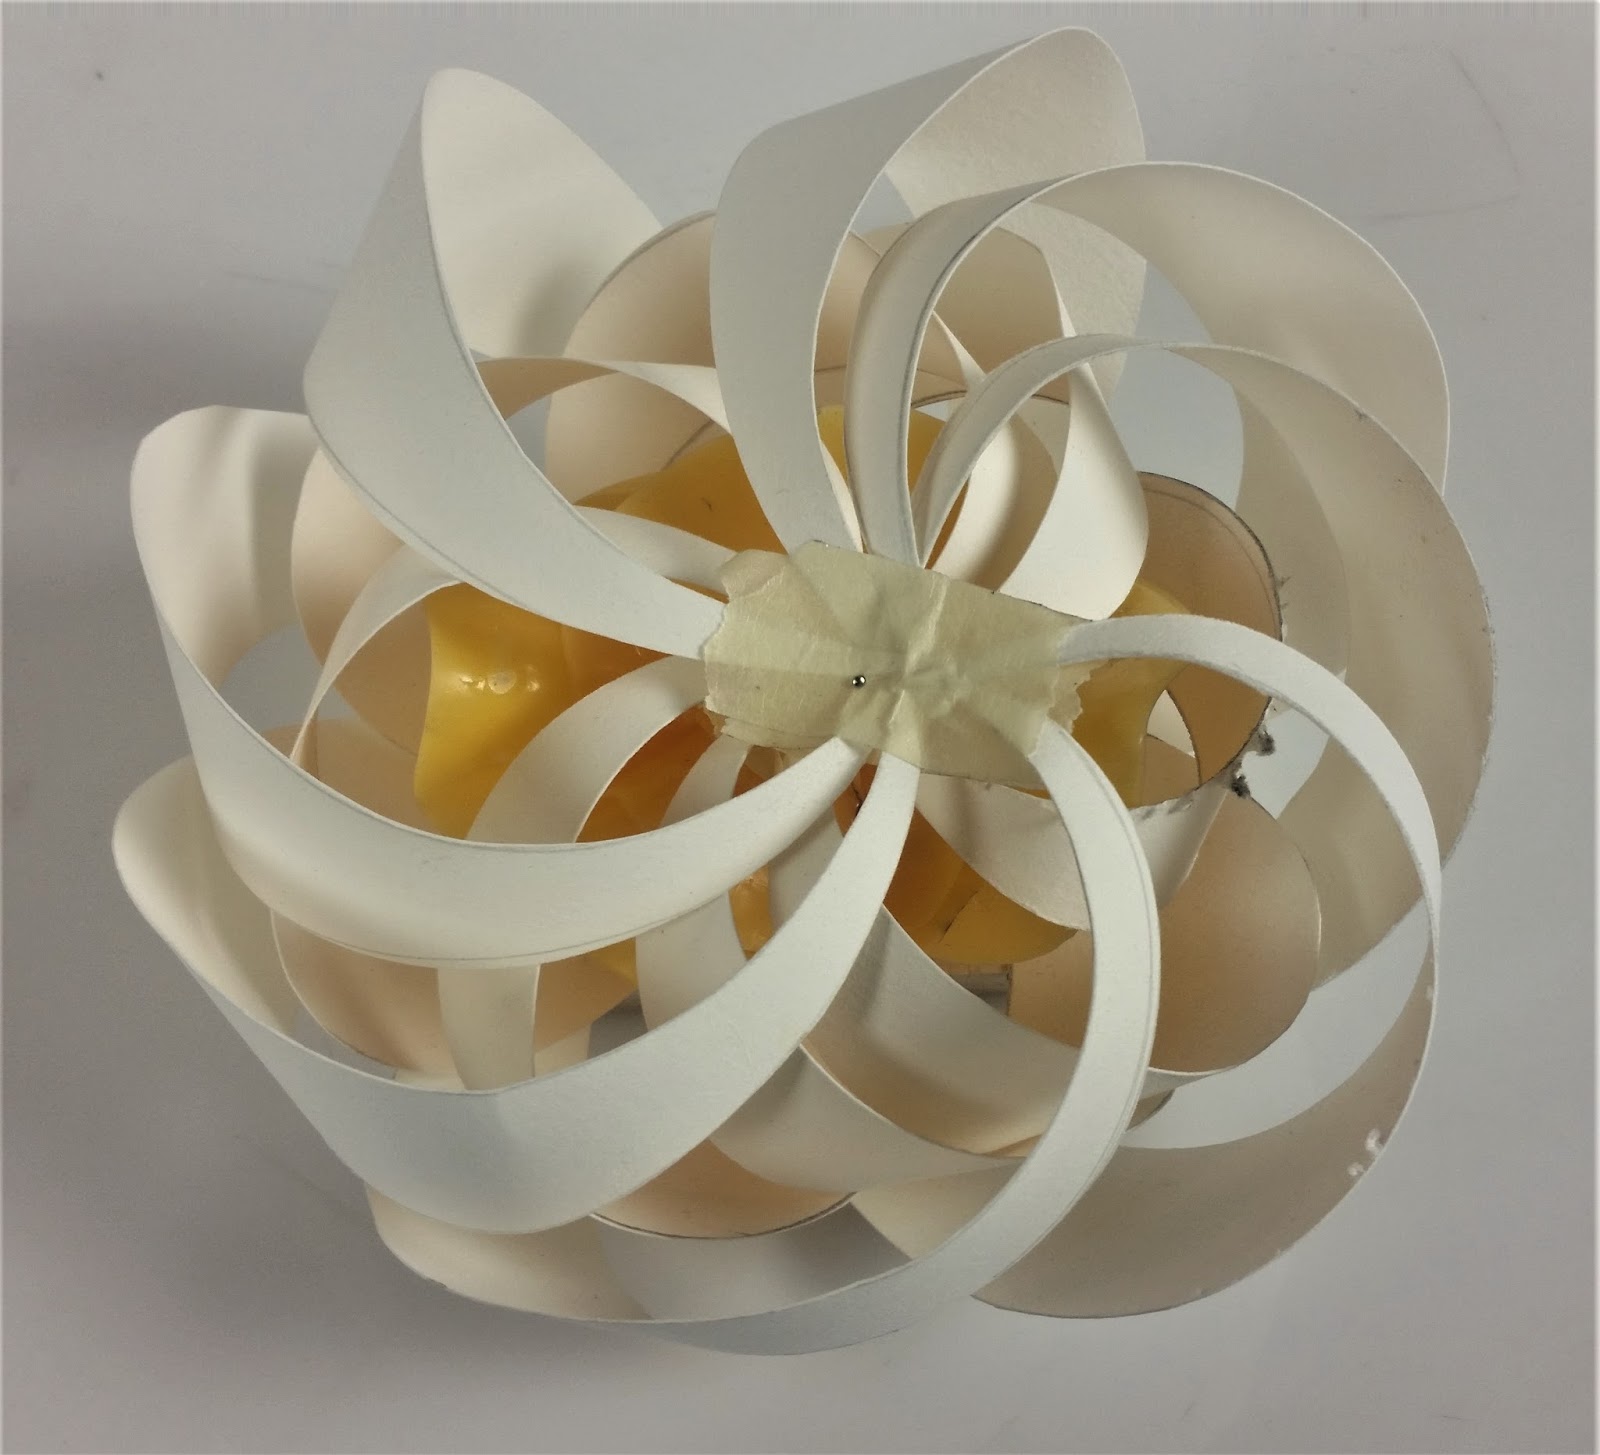
Pattern and Radial Symmetry
My final sculpture is a fusion of two separate  principle of design, pattern and balance. I used circular shapes of glue to create a floral-looking piece and I nailed it to a wooden square. Then i made two sets of curved "leaf" shapes; 8 for each set. I placed them around the glue piece and folded them inwards towards the center and nailed it to the glue piece. The overlapping "leaves" create interesting circle pattern as well as create radial symmetry.


Materials: Balsa Wood, Wood glue, Straight Pins, Masking Tape, and Stonehenge Paper


Fall 2016
3-D Materials and Concepts 


Tuesday, September 13, 2016

Masking Tape Shoes


This project was more difficult than I expected. Interpreting the patterns was a challenge, but once I got them down, I just made copies to make it easier for myself. The hardest and most frustrating part of this project was actually putting together all the pieces. Some of my pieces were too thick, so it wasn't very flexible. Unfortunately, I lost the angle of the toe kick, because I was heavily working on molding it. The laces were also a problem. I tried so many ways to create round laces, but none of them were successful. However, I managed to create the laces as best to my ability. I also added some detail by drawing on the seams. Overall, I liked how it turned out in the end.  

Materials: Masking Tape, Wood Glue, Sharpie, and Copy Paper (for the paper model)

IN PROCESS PICTURES

First, I made a show out of just plain copy paper to give me an idea of how to create a 3-dimensional shoe out of 2-dimensional shapes and templates. 

The paper was very hard to mold and manipulate into round and smooth areas. I tried my best to replicate the fur on the inside of the boot with paper by just fraying the paper with my x-acto knife. 

To start off with my tape shoe, I first wanted to create all the separate planes and shapes that make up the surfaces of the shoe. I decided to tackle the main body of the shoe first. After creating the first one pattern, I copied it 3 more times so there is 2 sides per shoe. I used a hole puncher to create the holes for the laces. 


Next, I created the sole of the shoe. I simply placed my shoe on a sheet of tape and traced the shape the sole made. I made 3 more patterns after the initial one, two for each shoe. 

Then, I create the soles of the heel. 

These are all the pieces I had so far. The long skinny pieces of tape are going to be used for the sides of the soles. 


The larger tape pieces are going to be used for the thicker part of the sole. 

Here I have made the plane of the boots toe kick. 


 This is the finished construction of the sole with the heel. 


Now that I finished my first sole, it's time to put all the pieces together for the first shoe. 

I started with the front of the shoe because the round toe kick was the hardest part to create with tape. I also added the second half of the tongue. 

Then, I added the sides along with the back. At this point, it was really hard to to get the tape to stick. As you can see, I have to use some wood glue to secure certain areas. 

Then I added the second half of the tongue and the lace loop on the tongue. I also added the stitching detail using a fine sharpie. 

Finally, I added the laces to complete the process. 


Fall 2016
3-D Materials and Concepts